This lab is crafted to offer hands-on experience in setting up a work email on an Android tablet. The outlined steps mirror a real-world scenario where a user submits a ticket, seeking assistance in configuring their work email on a mobile device. The primary objective is to acquire practical knowledge in navigating device settings, adding accounts, and troubleshooting email setups. Below is a step-by-step guide on how to successfully resolve this ticket:
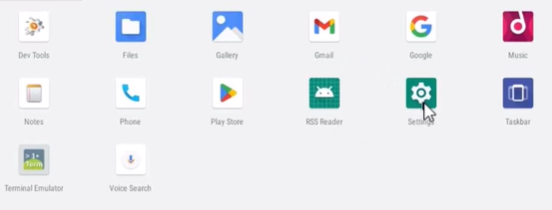
1. Navigate to Settings: Find the ‘Settings’ function on your Android device and click on it.
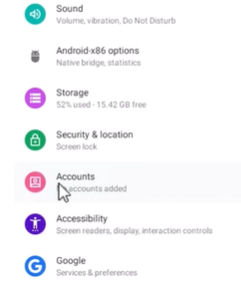
2. Access Accounts: In the new window, choose the ‘Accounts’ option.
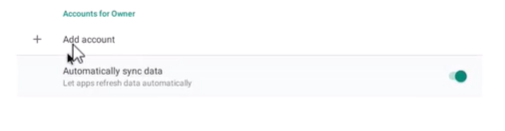
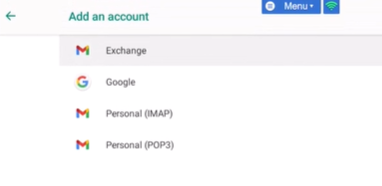
3. Add an Account: Within the Accounts menu, choose “Add Account.”
4. Select Account Type: In this example, “Microsoft Exchange” is chosen as the account type.
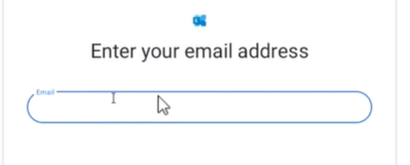
5. Input Credentials: In a real-world scenario, the users would enter their username and password Once the credentials are entered, the setup can be finalized, and the work email will be configured on the tablet.