In this lab, the essential steps to set up an Active Directory on a server will be walked through, with the goal of gaining experience in how to manage user accounts, resources, and network services with ease.
The steps are the following:
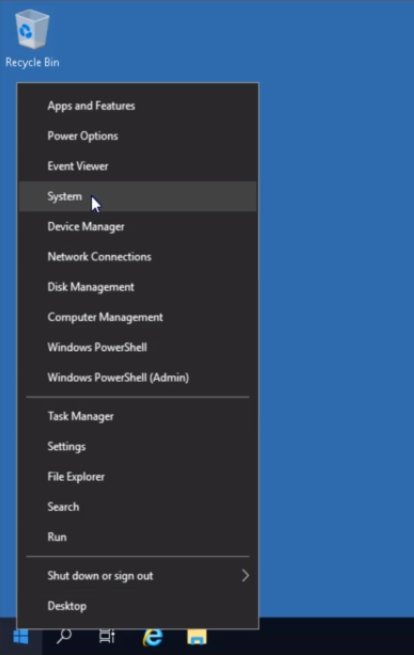
The Windows logo is right-clicked, and “System” is selected.
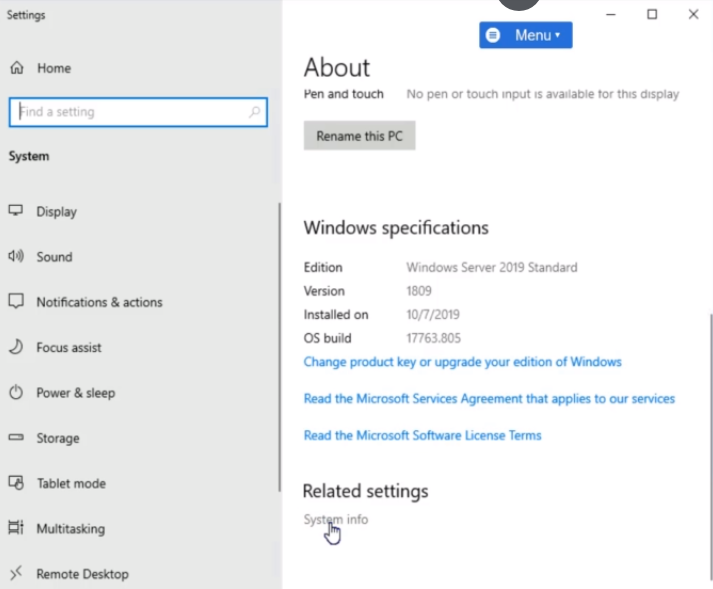
Click on “System Info”.
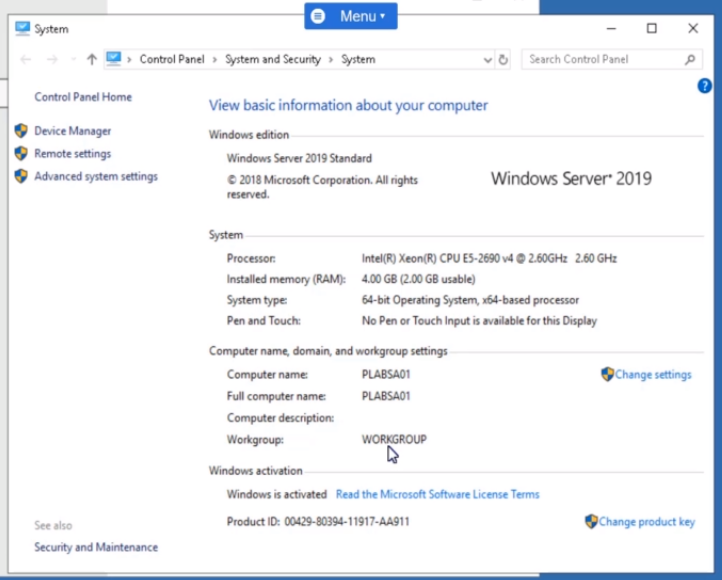
Check the information under “Workgroup.” If the computer is not managed, proceed to set up the Active Directory.
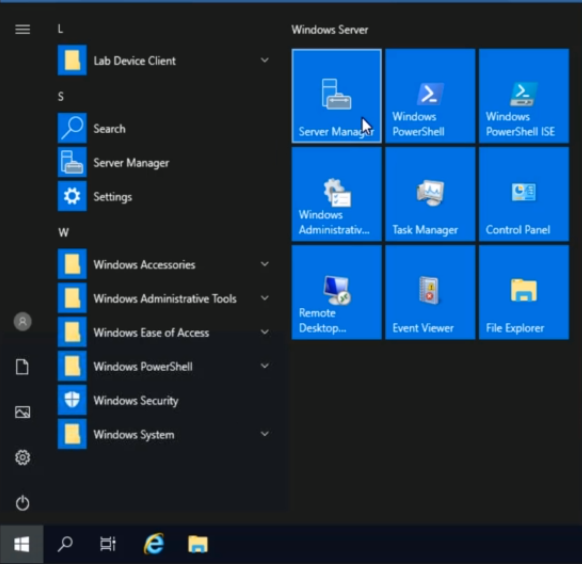
Open Server Manager to begin setting up the Active Directory.
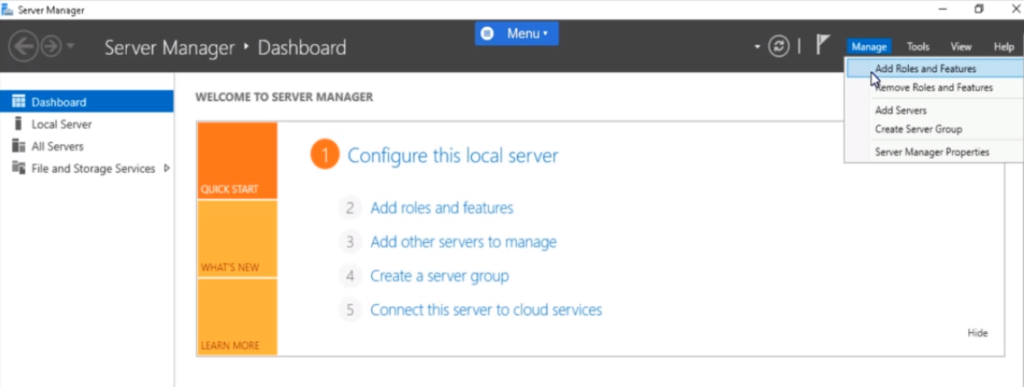
Click on “Manage” in the top right-hand corner of Server Manager. Select “Add Roles and Features” from the dropdown menu.
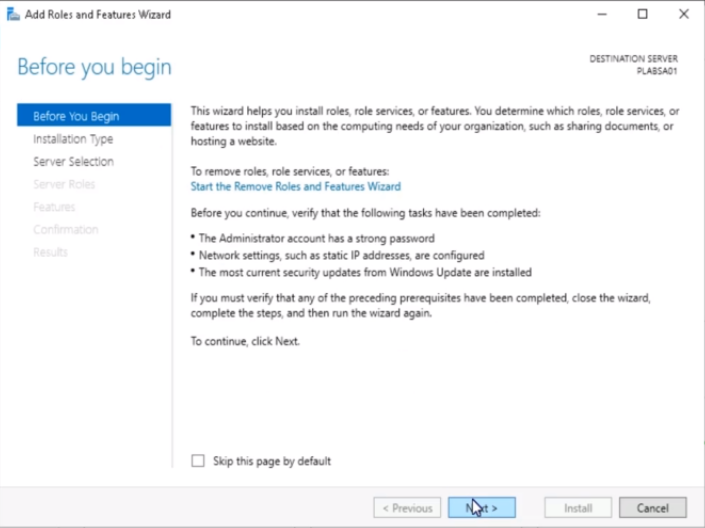
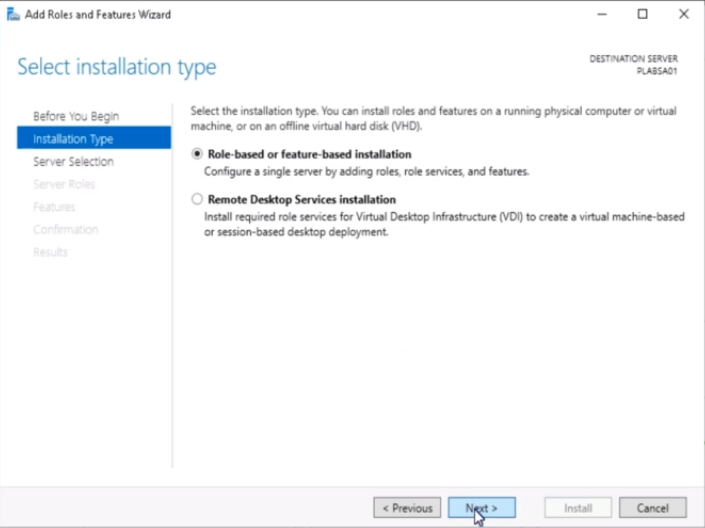
In the “Add Roles and Features Wizard,” click “Next” in the “Before You Begin” section. Proceed by clicking “Next” in the “Installation Type” section.
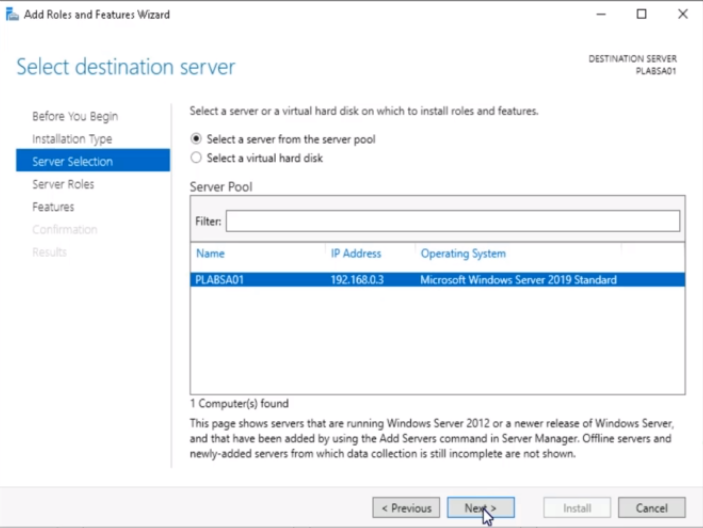
Choose the server where the roles and features will be installed. In this lab the “PLABSA01” will be selected from the Server Pool. Then, click “Next.”
Select “Active Directory Domain Services” from the Roles list.
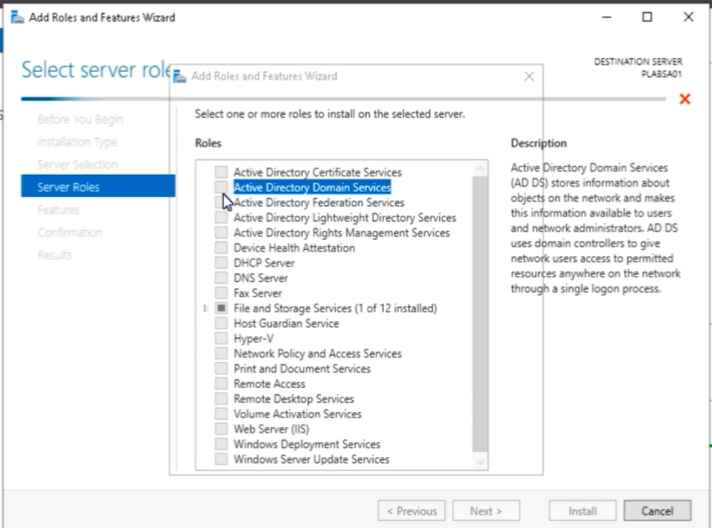
Click on “Add features” in the new window.

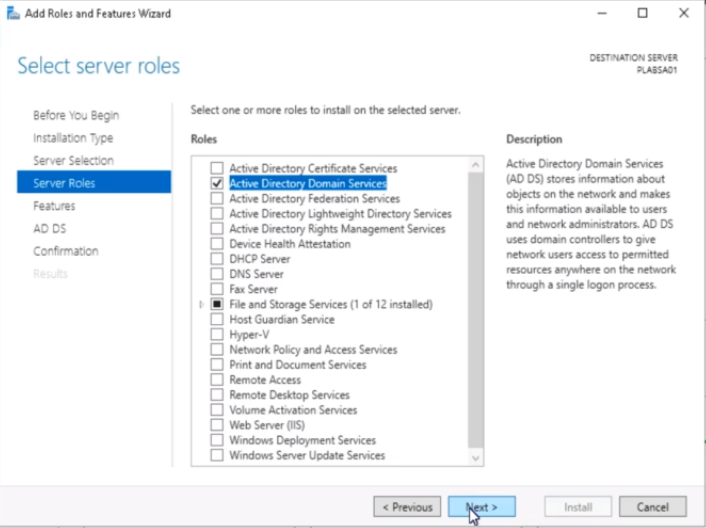
Then click “Next.”
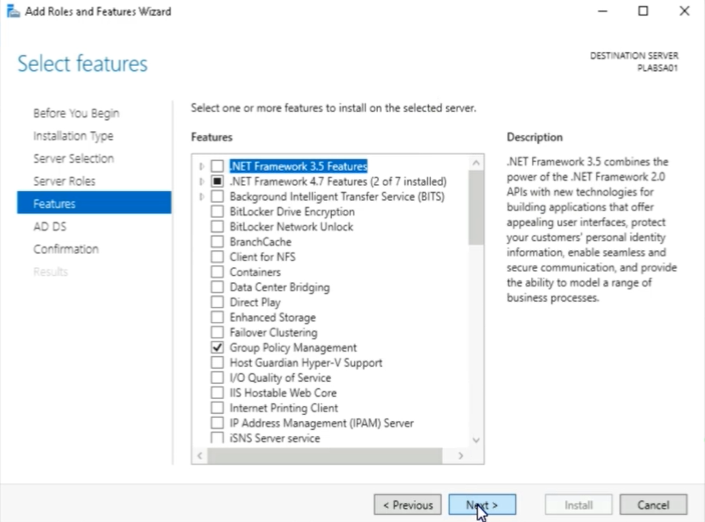
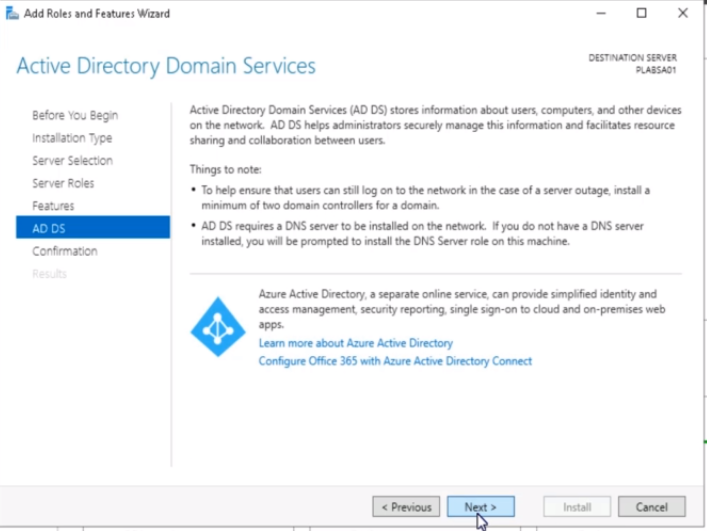
Click “Next” in the “Features” section and then in the “AD DS” section.
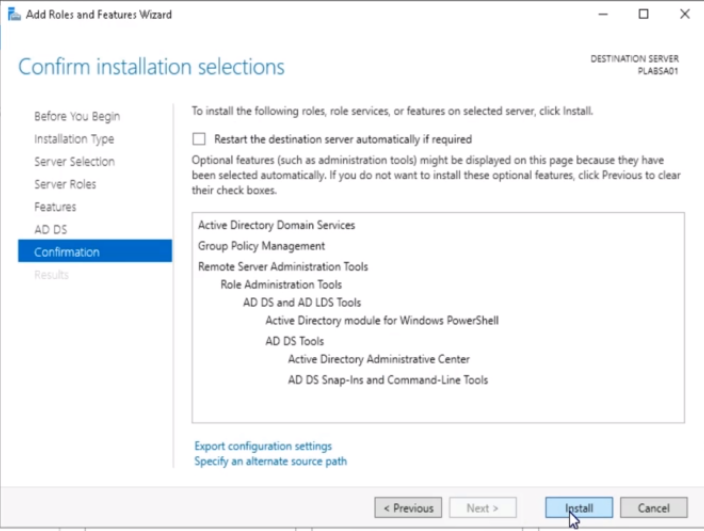
Proceed to the “Confirmation” section and click “Install.”
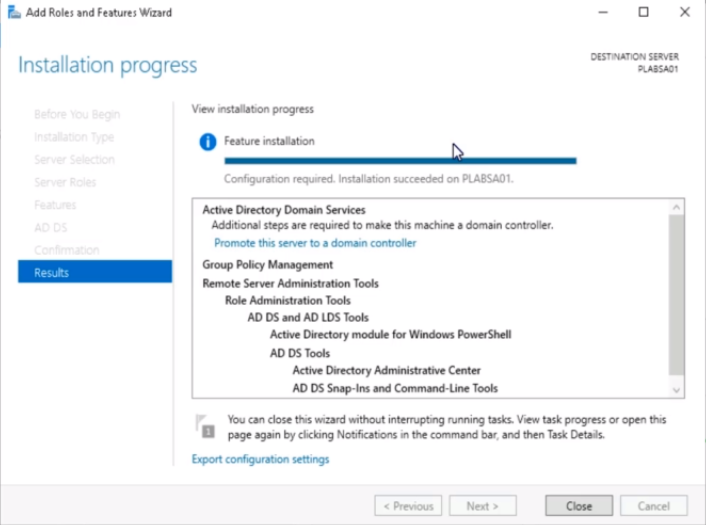
Click on “Promote this server to a domain controller” from the “Results” section.
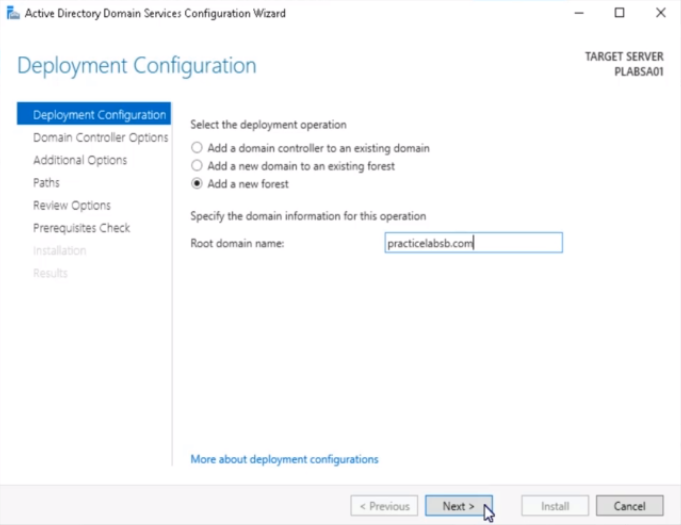
Choose “Add a new forest” from the deployment configuration window. Assign a “Root domain name” and click “Next.”
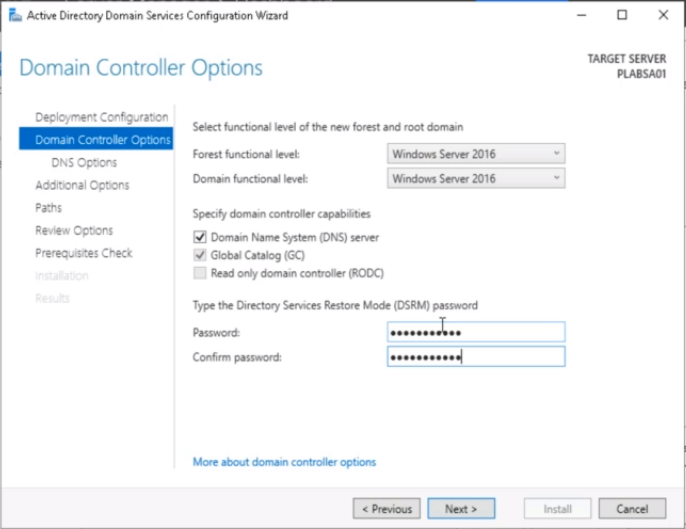
Set a password and confirm it in the “Domain Controller Options” section. Click “Next.”
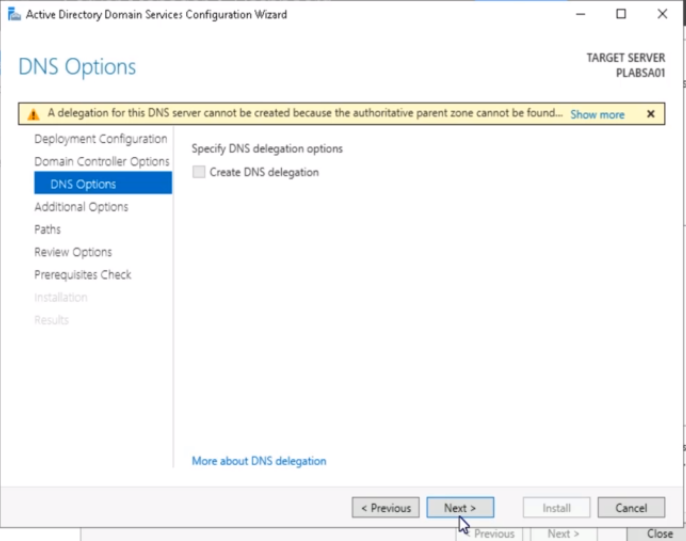
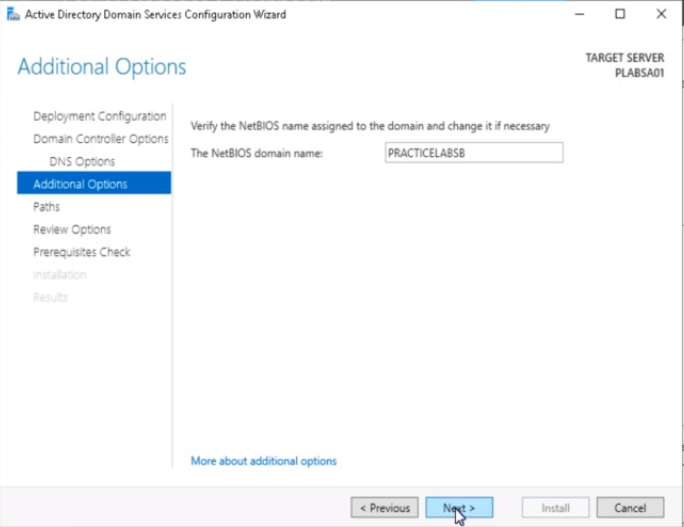
Click “Next” in the “DNS Options” and “Additional Options” sections.
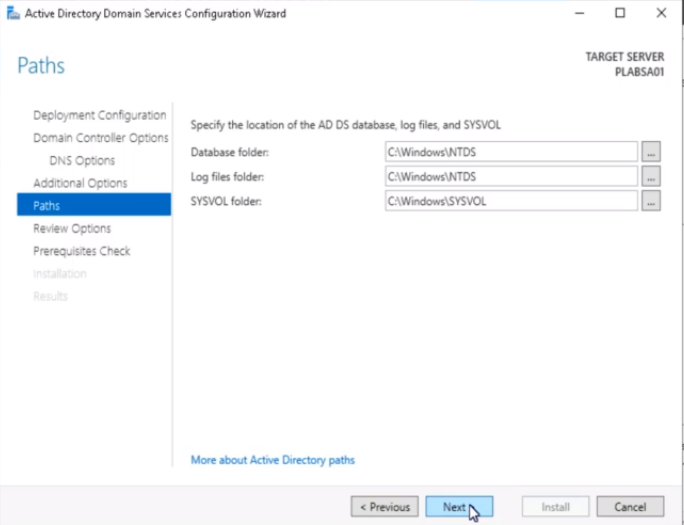
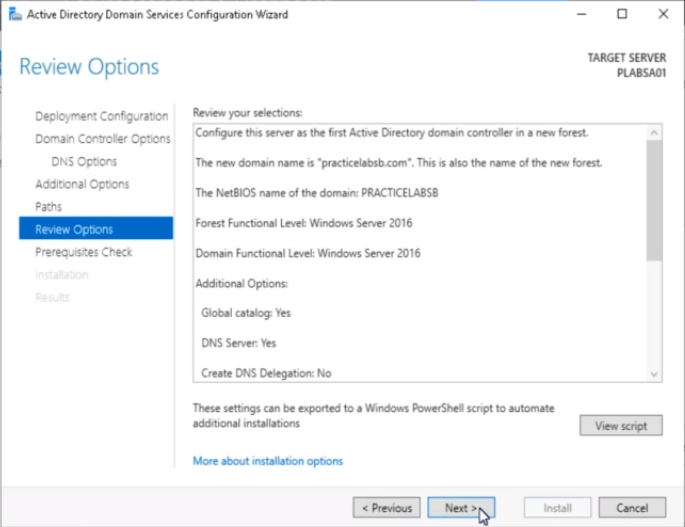
Click “Next” in the “Paths” and “Review Options” sections.
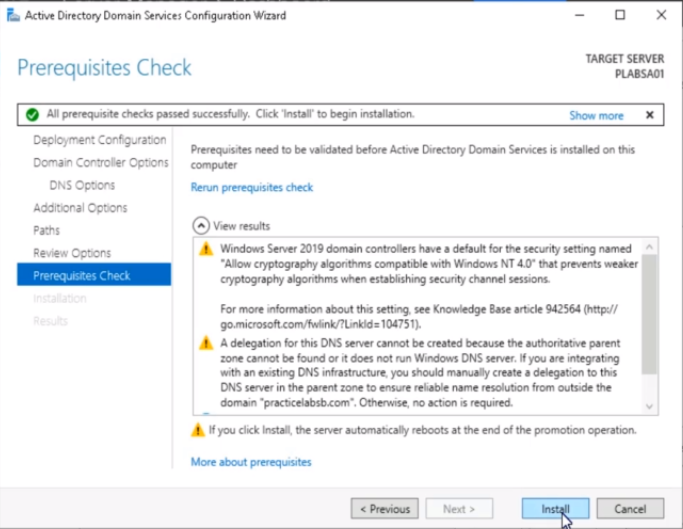
Proceed to the “Prerequisites Check” section and click “Install.”
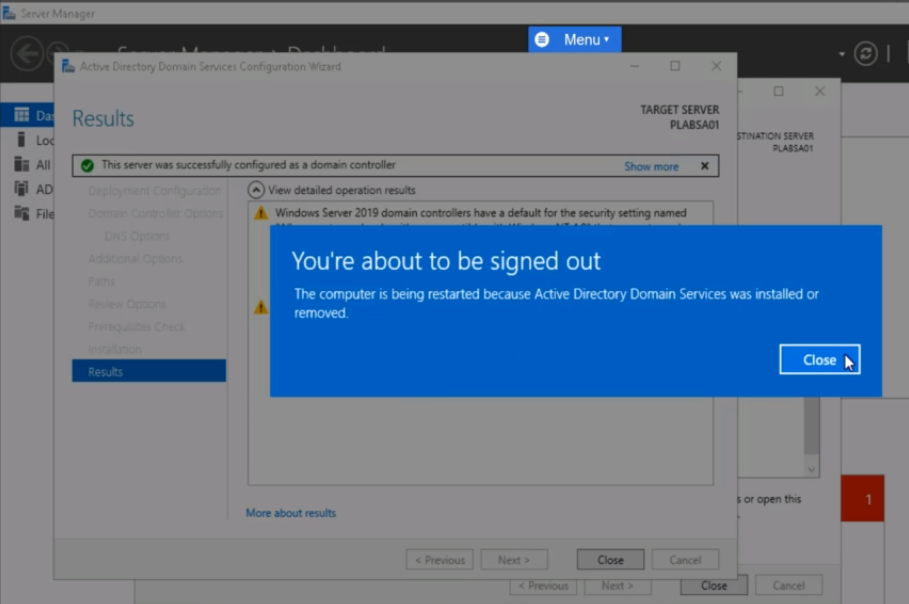
Restart the computer once the installation is complete.
After restarting, open “Server Manager”
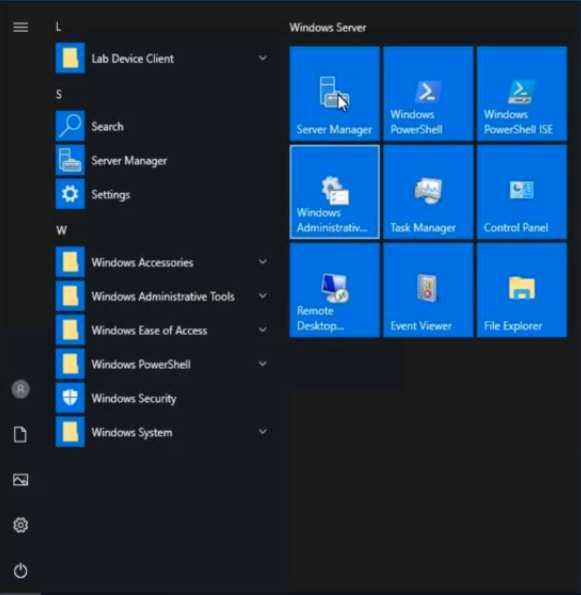
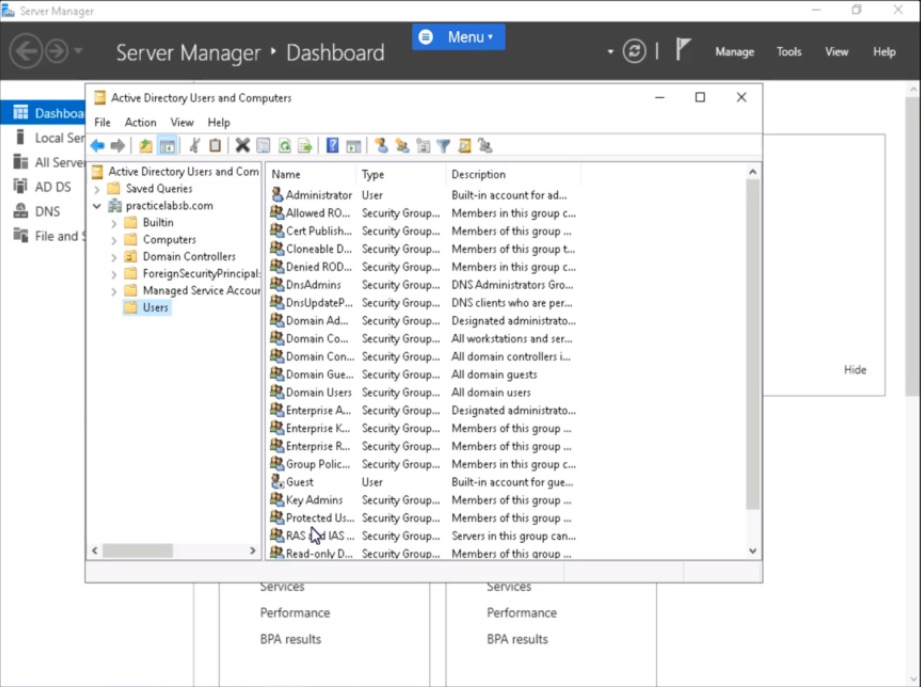
Then, navigate to “Tools” > “Active Directory Users and Computers.”
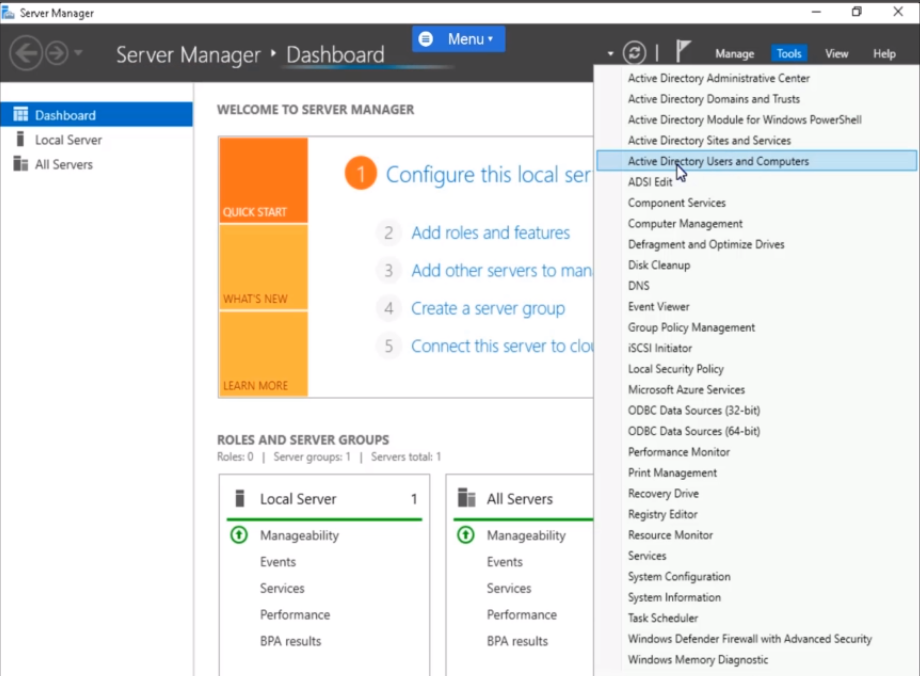
You will see that the “practicelabs.com” Active Directory has been successfully created.